Creating cold process soap from scratch can be a rewarding and creative endeavor. However, it’s essential to follow a well-structured process to ensure a safe and successful outcome. The following 14 steps outline the entire journey of crafting your own cold process soap, from recipe selection to curing, and will guide you through each stage of this fulfilling process. So, let’s get started on your soap-making adventure
14 Easy Steps to Cold Process Soap!
Preparation:
- Select a Soap Recipe: Begin by selecting the soap recipe you want to make. A good place to start is easy-homemade-soap-with-extra-bubbles/
- OR Calculate Lye: Use a lye calculator to determine the precise amount of sodium hydroxide (lye) required for your chosen recipe.
- Gather Ingredients: Collect all the necessary ingredients, including oils, butters, additives, and any additional components specified in your chosen recipe.
- Collect Safety Equipment: Ensure you have all the safety gear you need, including gloves, safety goggles, and, if necessary, a mask.
Preparing the Lye Solution:
- Weigh Water: Measure the water required for your recipe.
- Weigh Lye (Sodium Hydroxide): Carefully weigh the lye while wearing appropriate safety gear.
- Mix Lye and Water: In a well-ventilated area, slowly add the lye to the water. Stir until fully dissolved, and allow it to cool to a temperature between 90 and 115 degrees Fahrenheit.
Preparing Oils and Fats:
- Weigh and Heat Oils, Butters, and Fats: Measure and heat the oils, butters, and fats as specified in your recipe.
- Monitor Temperatures and Combine: Check the temperatures of both the lye solution and oils. When they are at the right and same temperature, slowly combine them.
Soap Making:
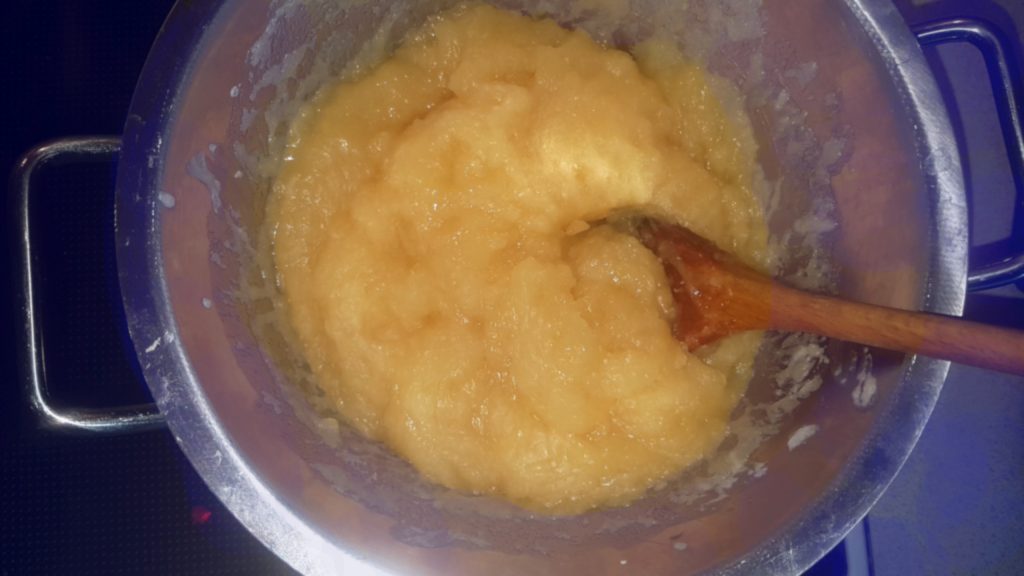
- Blend to Trace: Use an immersion blender to mix the soap mixture until it reaches “trace.” This means a small amount of the mixture leaves a faint pattern before sinking back in.
- Add Extra Ingredients: Once “trace” is achieved, incorporate any extra ingredients, such as honey, oatmeal, colorants, and essential oils, following your recipe.
- Pour the Soap Batter into the Mold: Quickly pour the soap into your prepared mold, smoothing the top as necessary.
Finishing:
- Cover and Insulate the Mold: Cover the mold to keep the soap warm, allowing it to go through the gel phase and complete saponification. Leave it undisturbed for about 24-36 hours, but monitor for cracks on the surface.
- Unmold and Slice into Soap Bars: Remove the soap from the mold and cut it into bars after the curing period. Allow the bars to cure in the open air on wax paper for at least 4 weeks to ensure they become mild and pleasant to use.


